How to Use Presetter
Create stunning Adobe Lightroom presets in just a few simple steps. Follow this guide to transform your photos with AI-powered editing tools.
Upload Your Photo
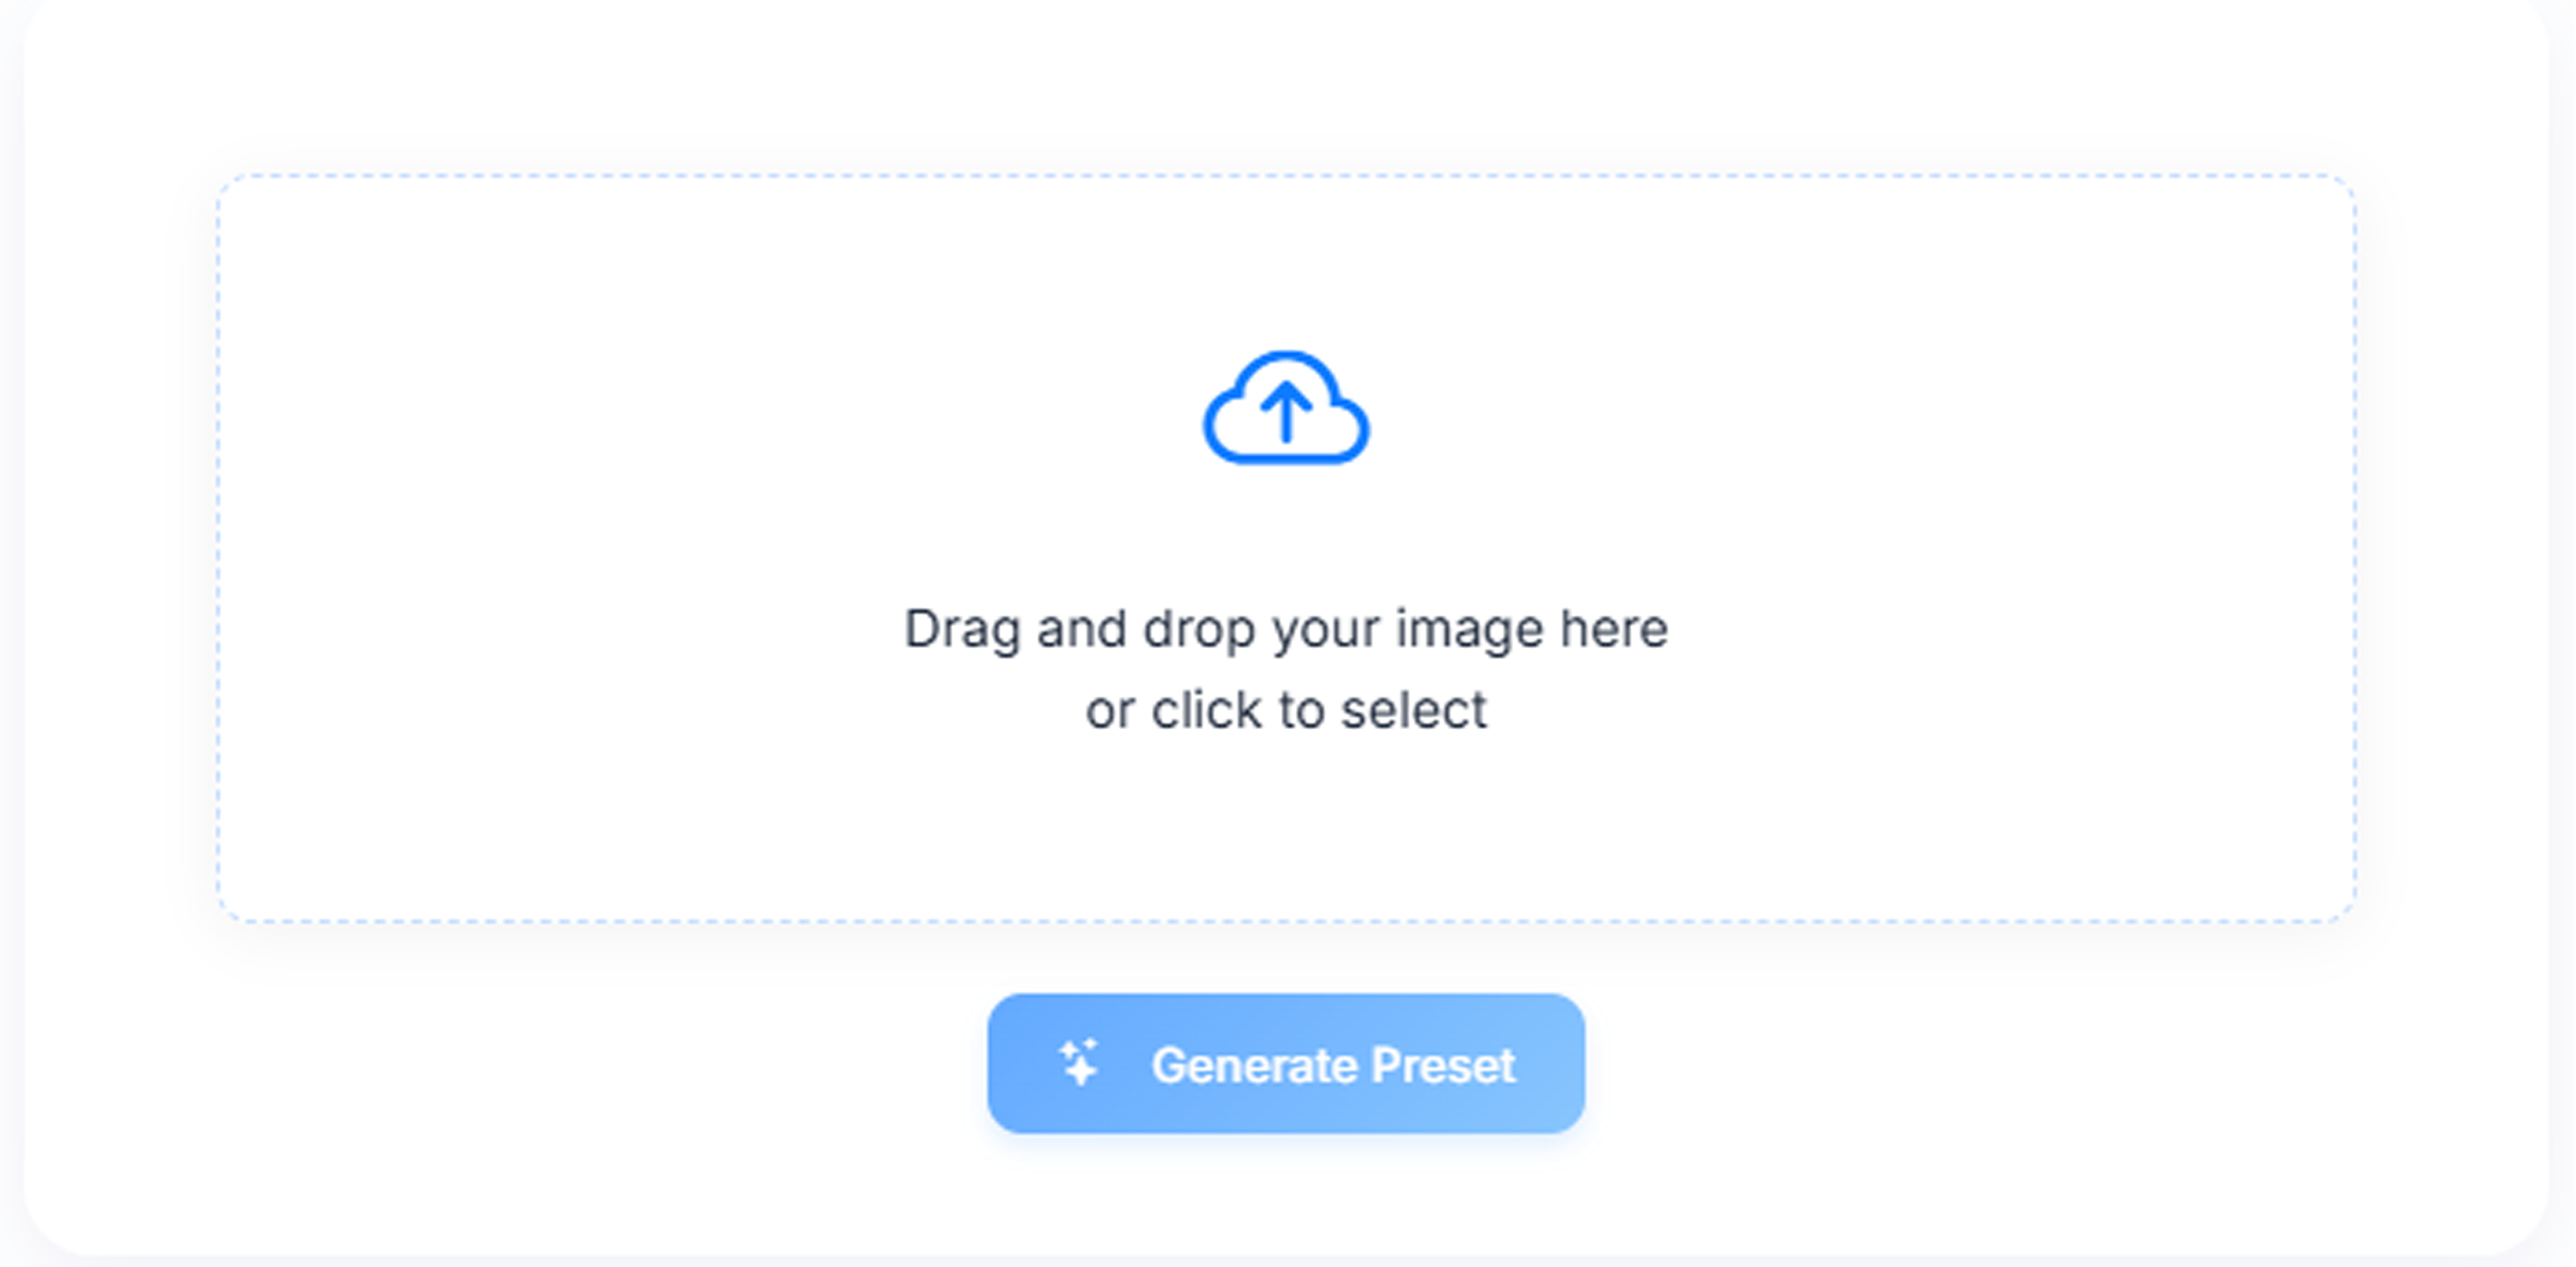
Start by uploading a photo you'd like to create a preset for. Simply drag and drop your image into the upload area or click to select a file from your device.
Our system works best with high-quality images that showcase the style you're looking to capture in your preset.

Generate Your Preset
After uploading your photo, click the "Generate Preset" button. Our AI will analyze your image and create a custom XMP preset that captures its unique style and characteristics.
You can name your preset to make it easy to identify later. The generation process takes just a few seconds to complete.

Save Your XMP Preset
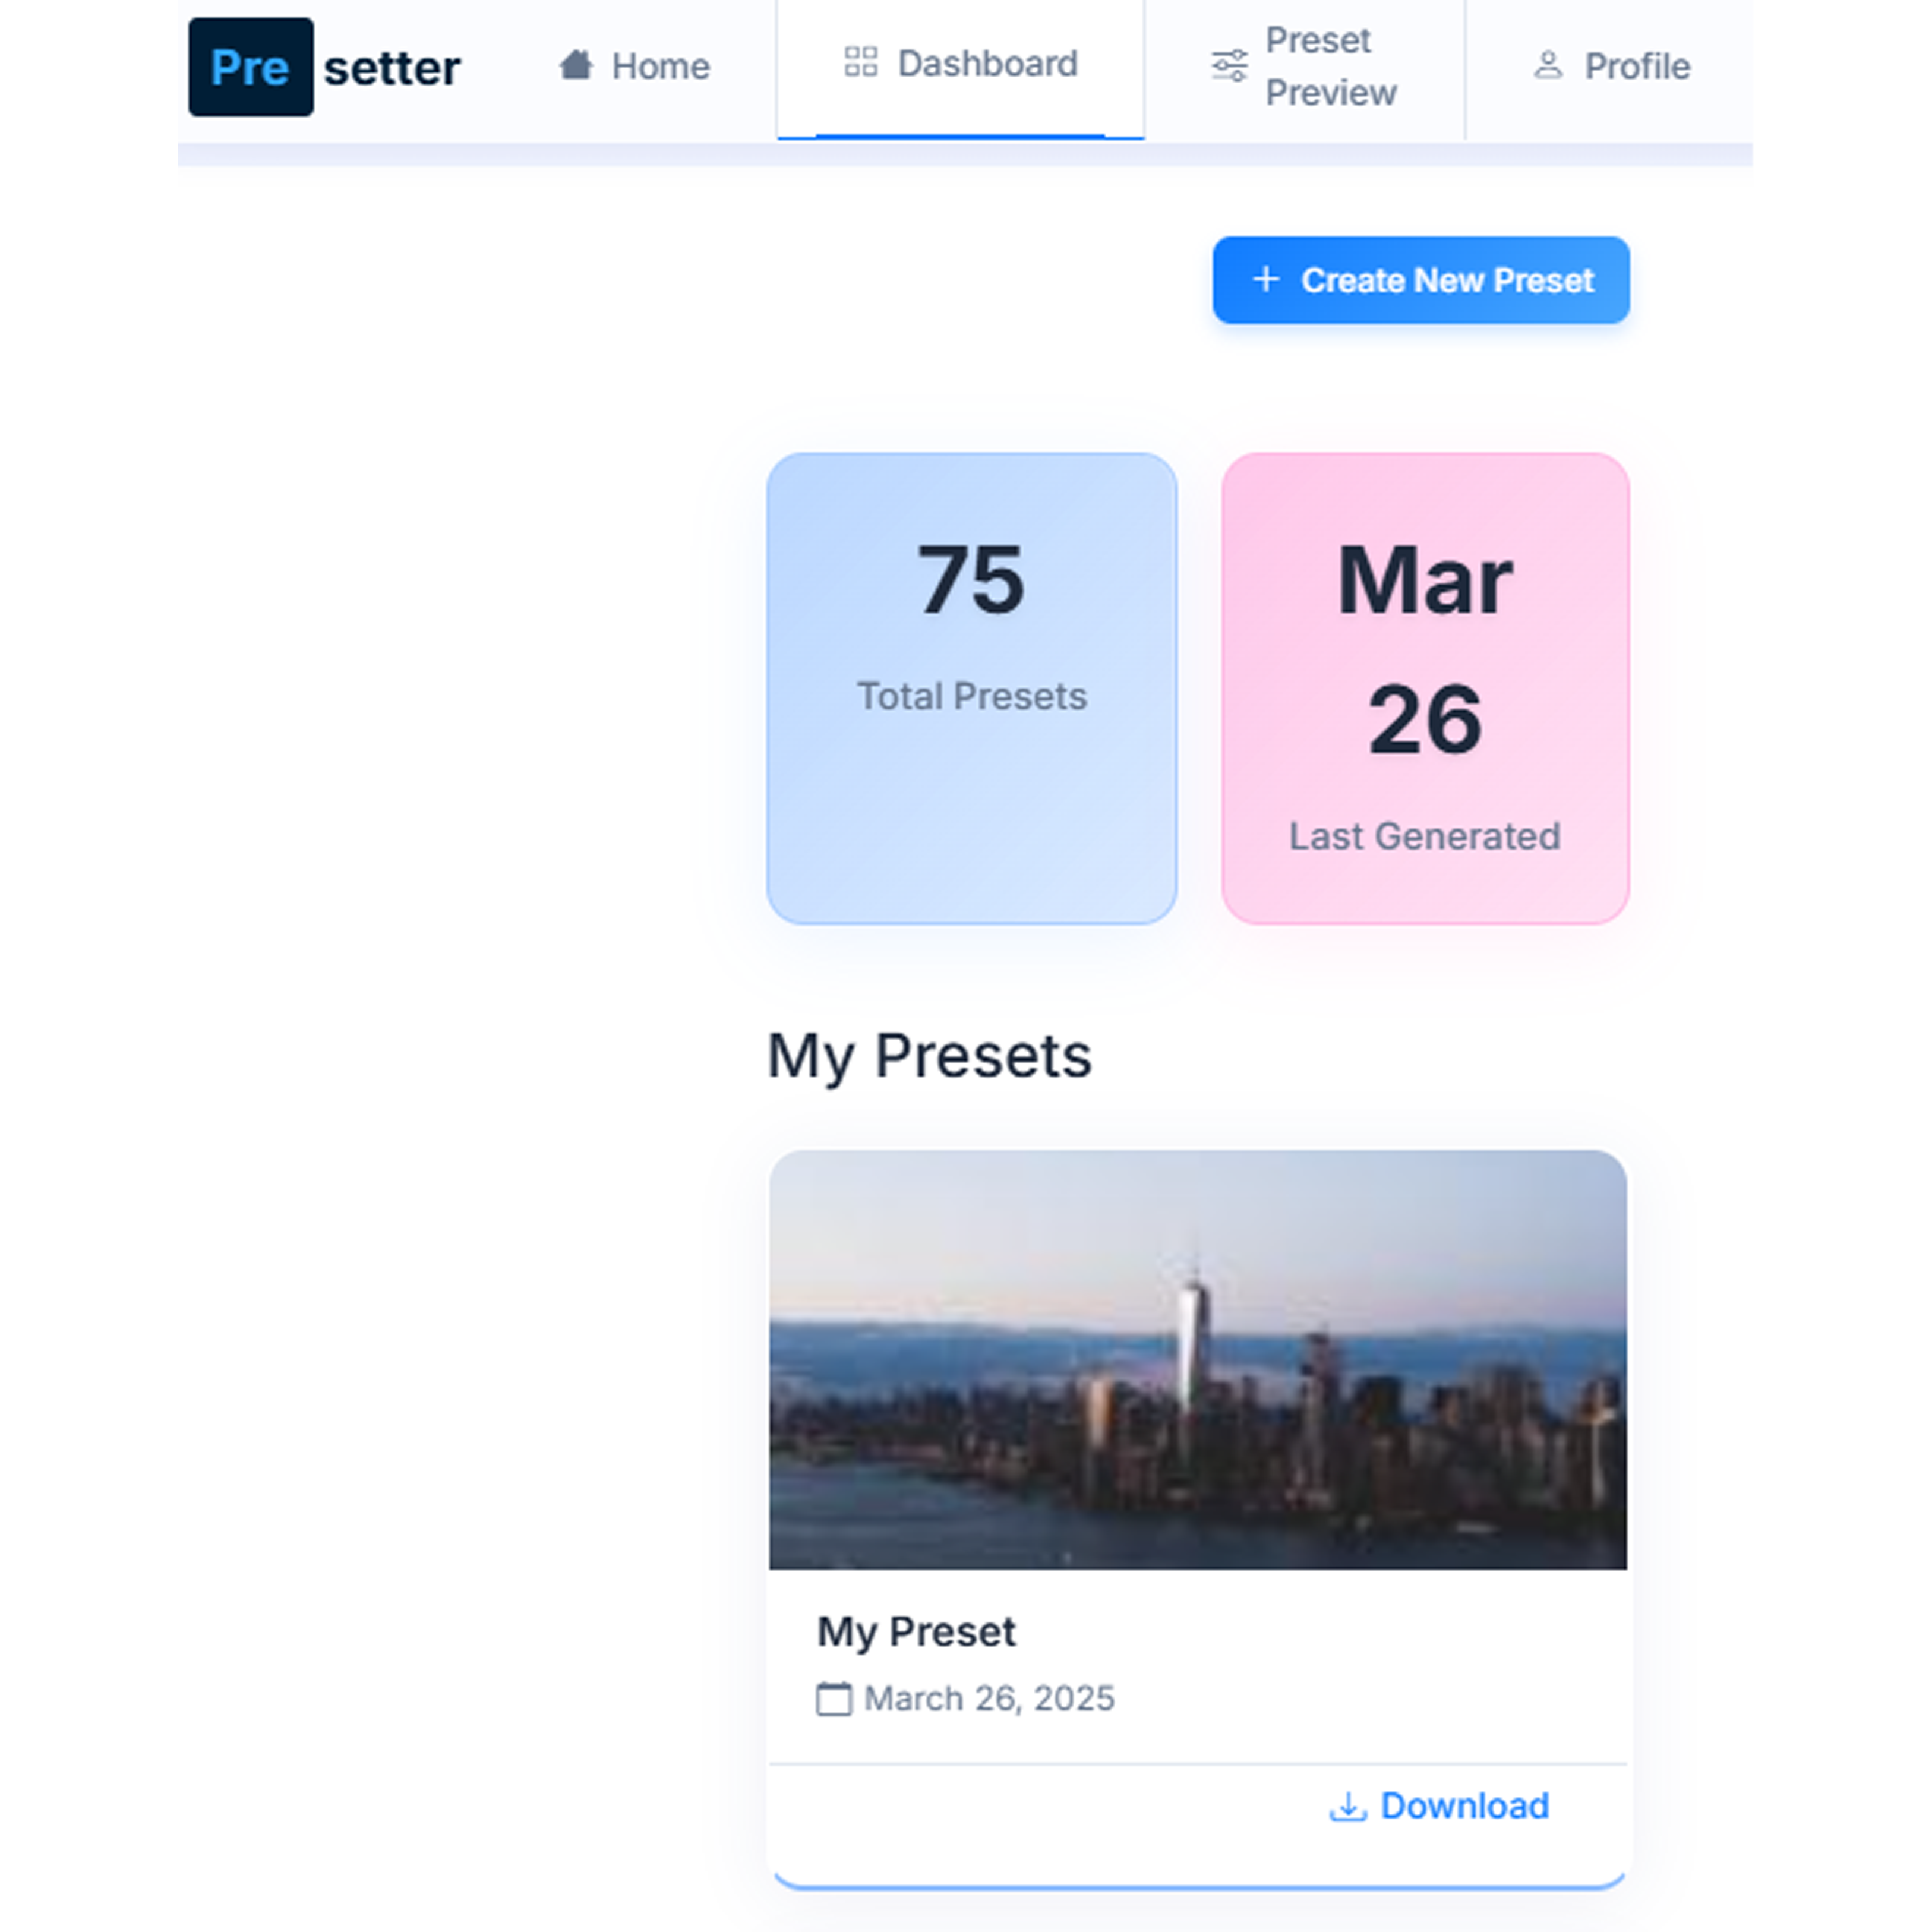
Once your preset is generated, you can download it as an XMP file that's ready to use in Adobe Lightroom. Simply click the "Download" button associated with your preset.
The file will be saved to your computer with the name you specified during generation.

Access Your Presets Dashboard
All your generated presets are saved in your personal dashboard. Visit anytime to view, download, or manage your preset collection.
The dashboard shows your total preset count, when you last generated a preset, and provides easy access to all your creations.
